Would love to see some of your prints on here! When I was younger my dad and I built a 3D printer, and I loved it. Since then I haven’t had the funds/time/space to get back into it but as that was like 12 years ago, I know 3D printing has gotten much higher tech.
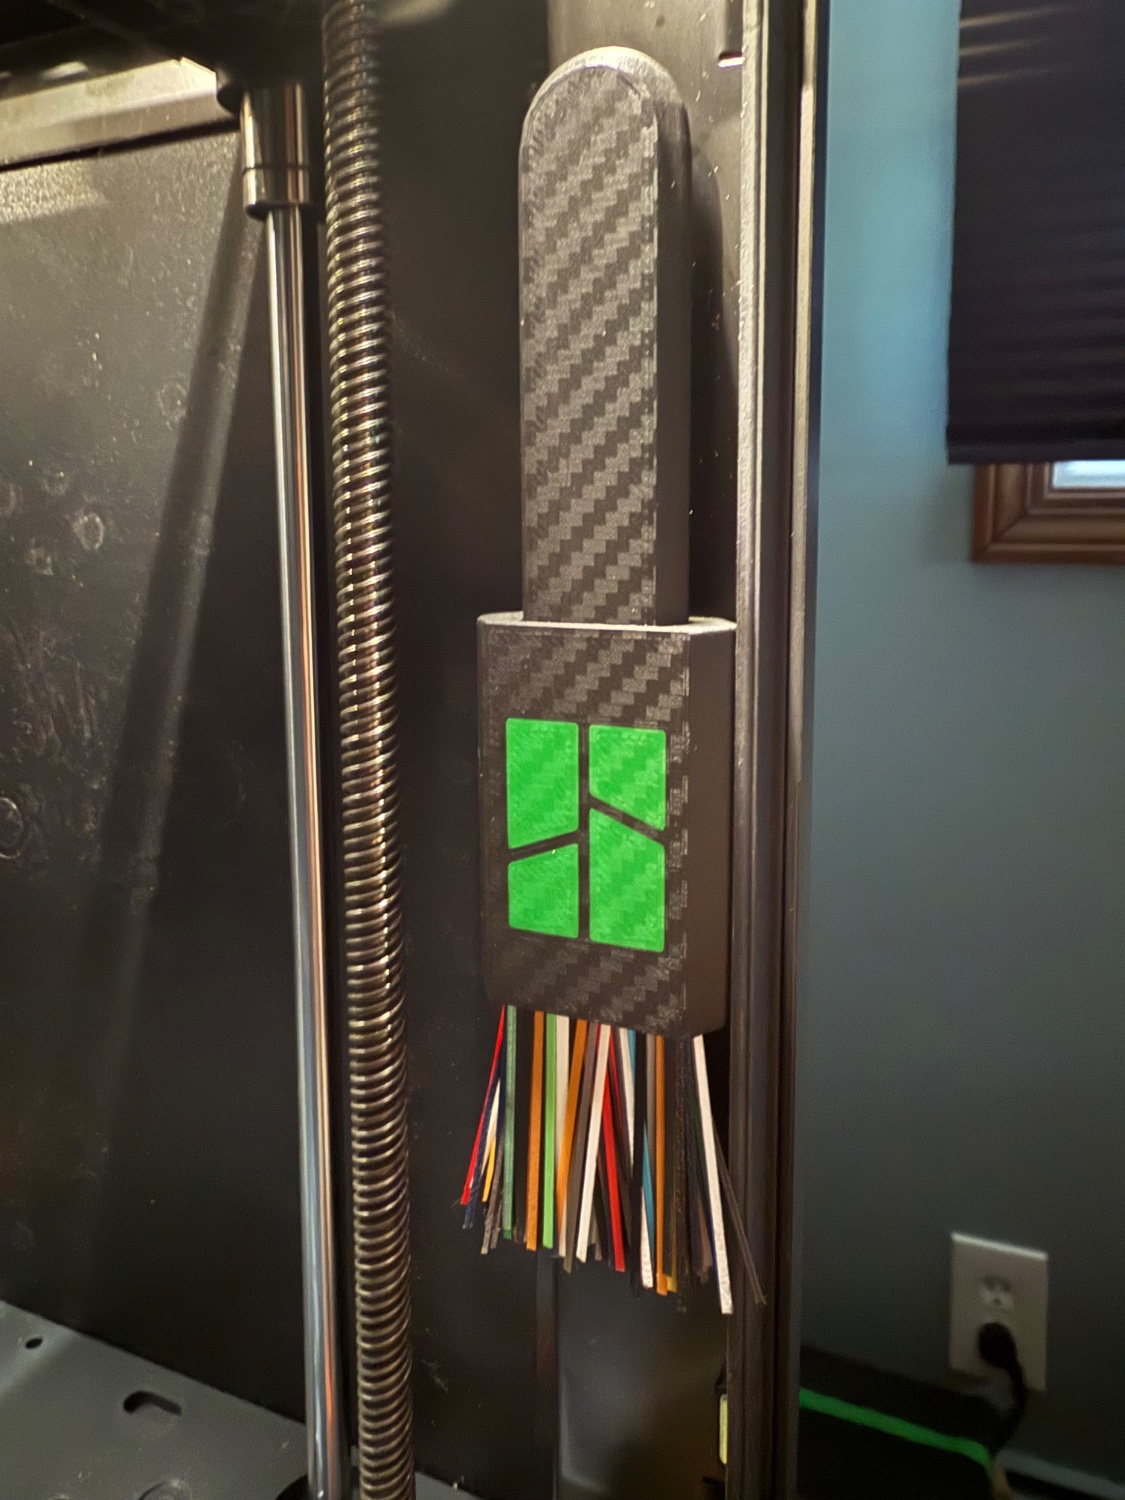
Designed and printed a magnetic prime line brush, to have a use for the lines my P1S begins each print with, that can attach to the frame and live inside the print enclosure. This one uses the extra scraper magnet that came with the printer, but I designed a version of it to use 6x2mm magnets as well, and versions of each with and without the Bambu logo (I know they’re not exactly the community’s favorite these days, and I understand why).
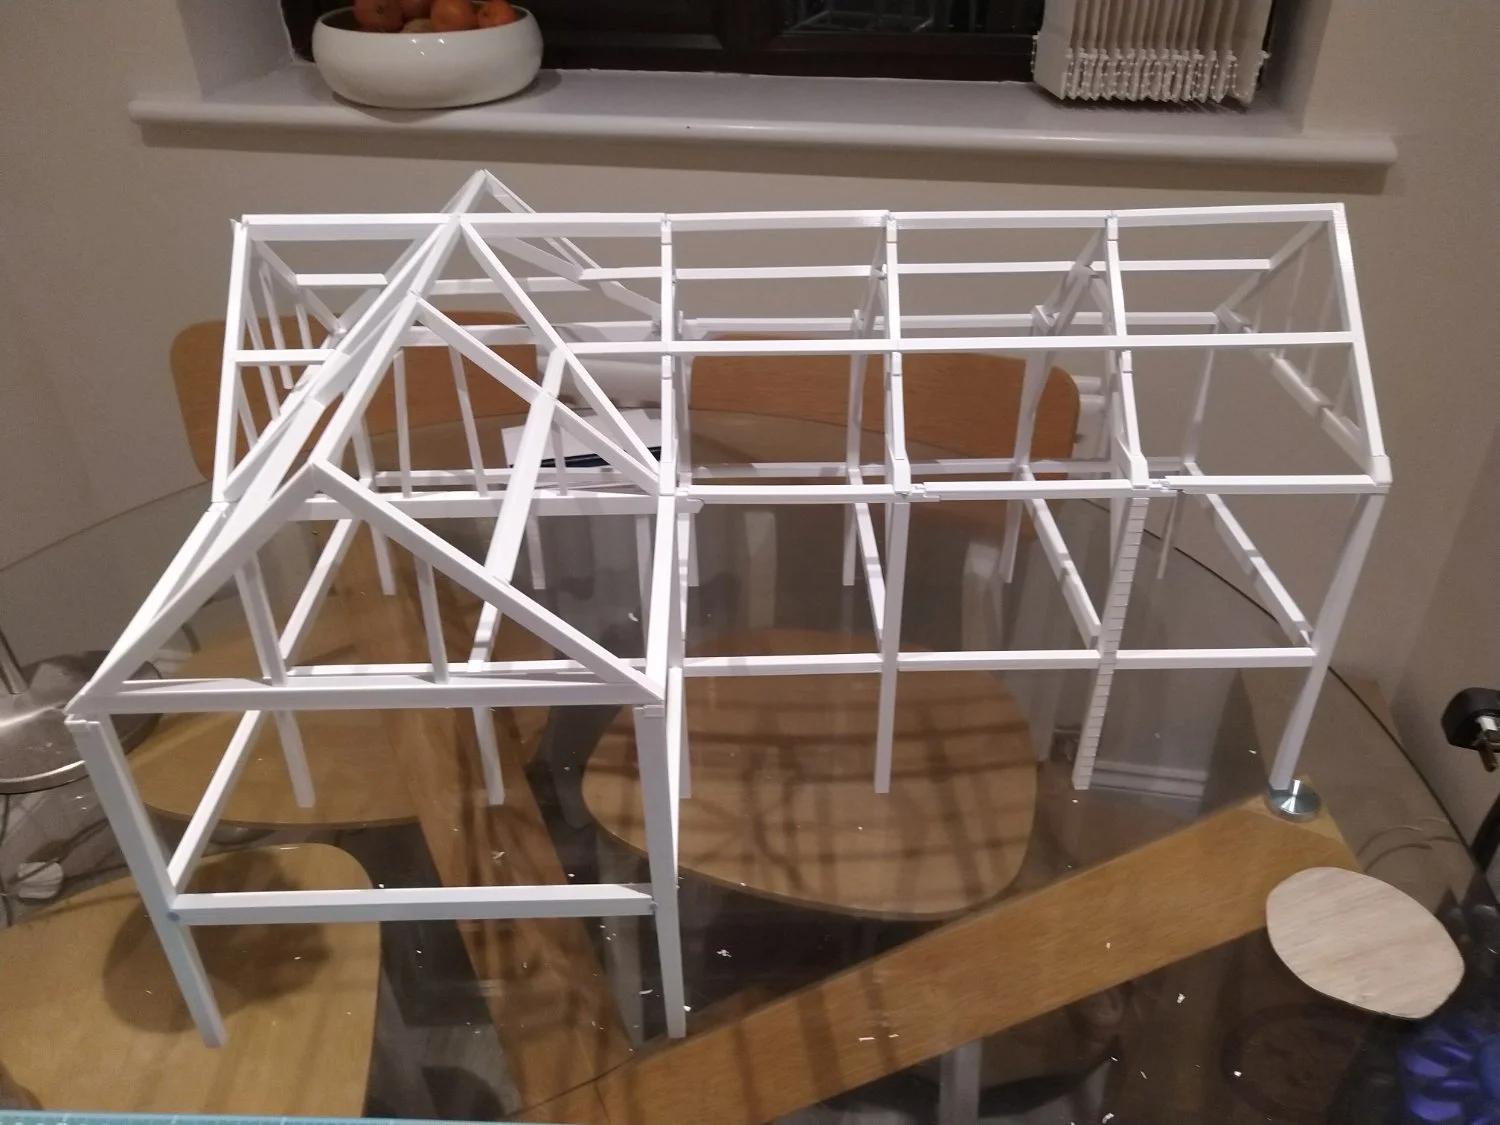
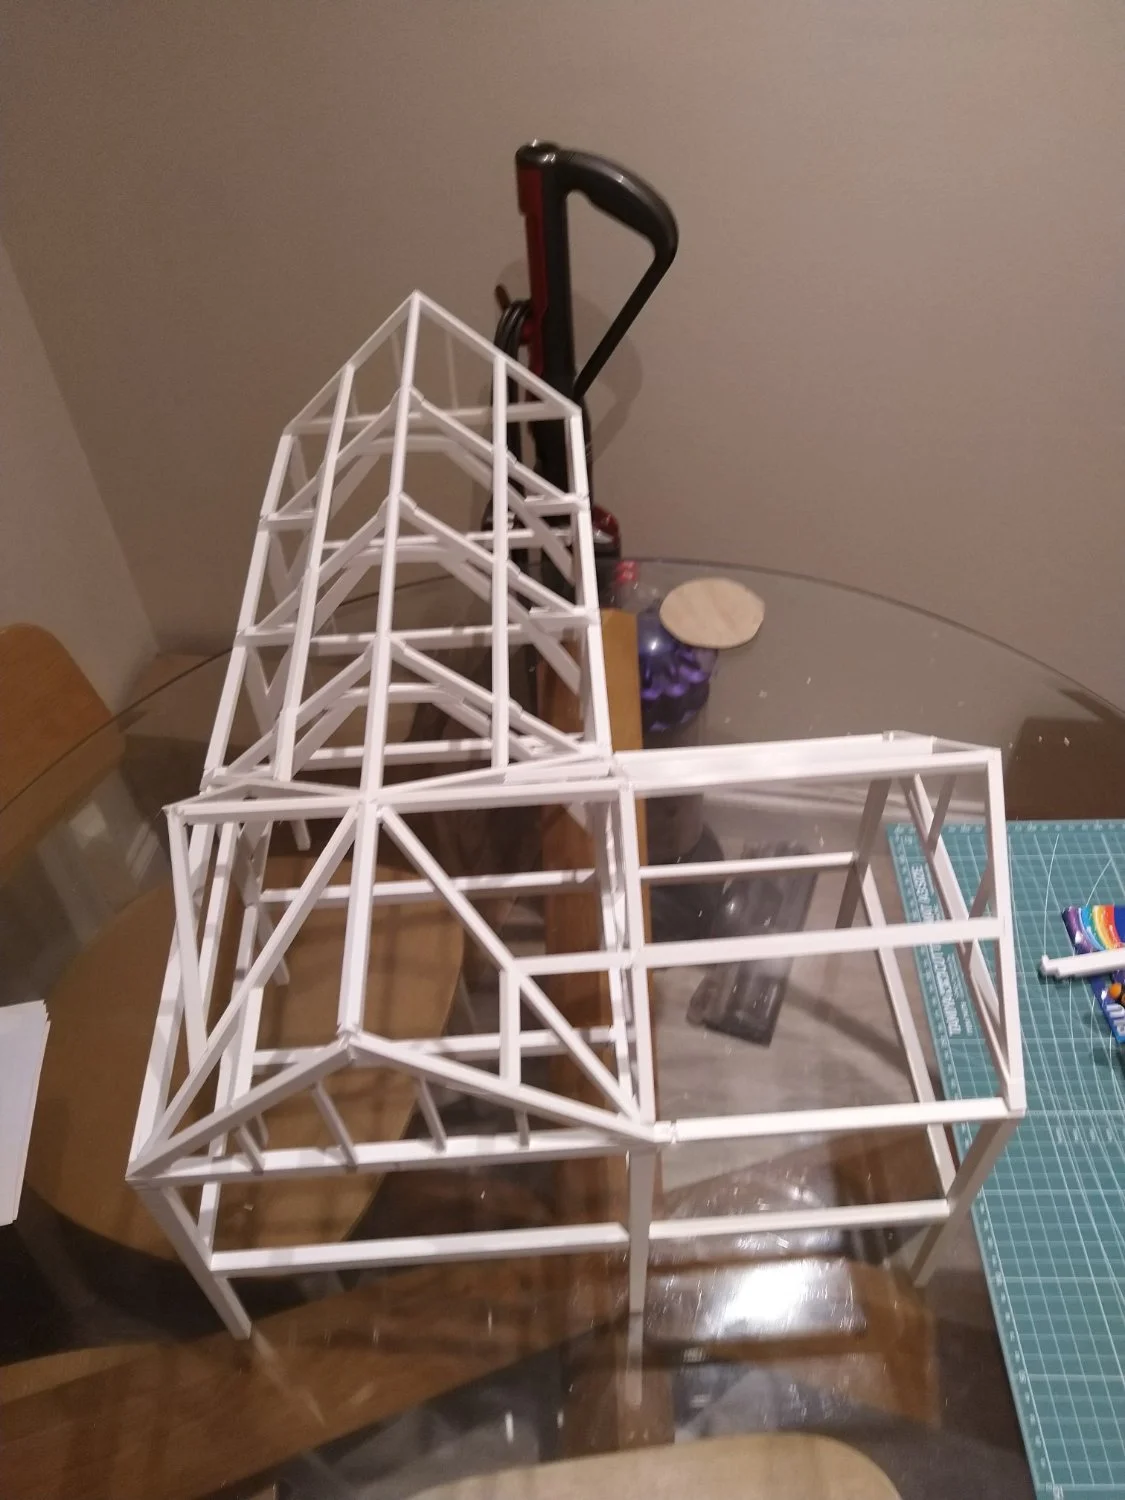
My parents had their current house built - an awesome oak framed building. I got the frame design from the architects and turned it into a 3D printed jigsaw.
Each beam had a bit on the end that plugged into the relevant socket (with a little bku-tacto help in some cases)
I had done no 3d modeling previous to this, and practically none after. Took me months, awesome though!
That’s such a cool idea!
AA and AAA battery holders of my own design:
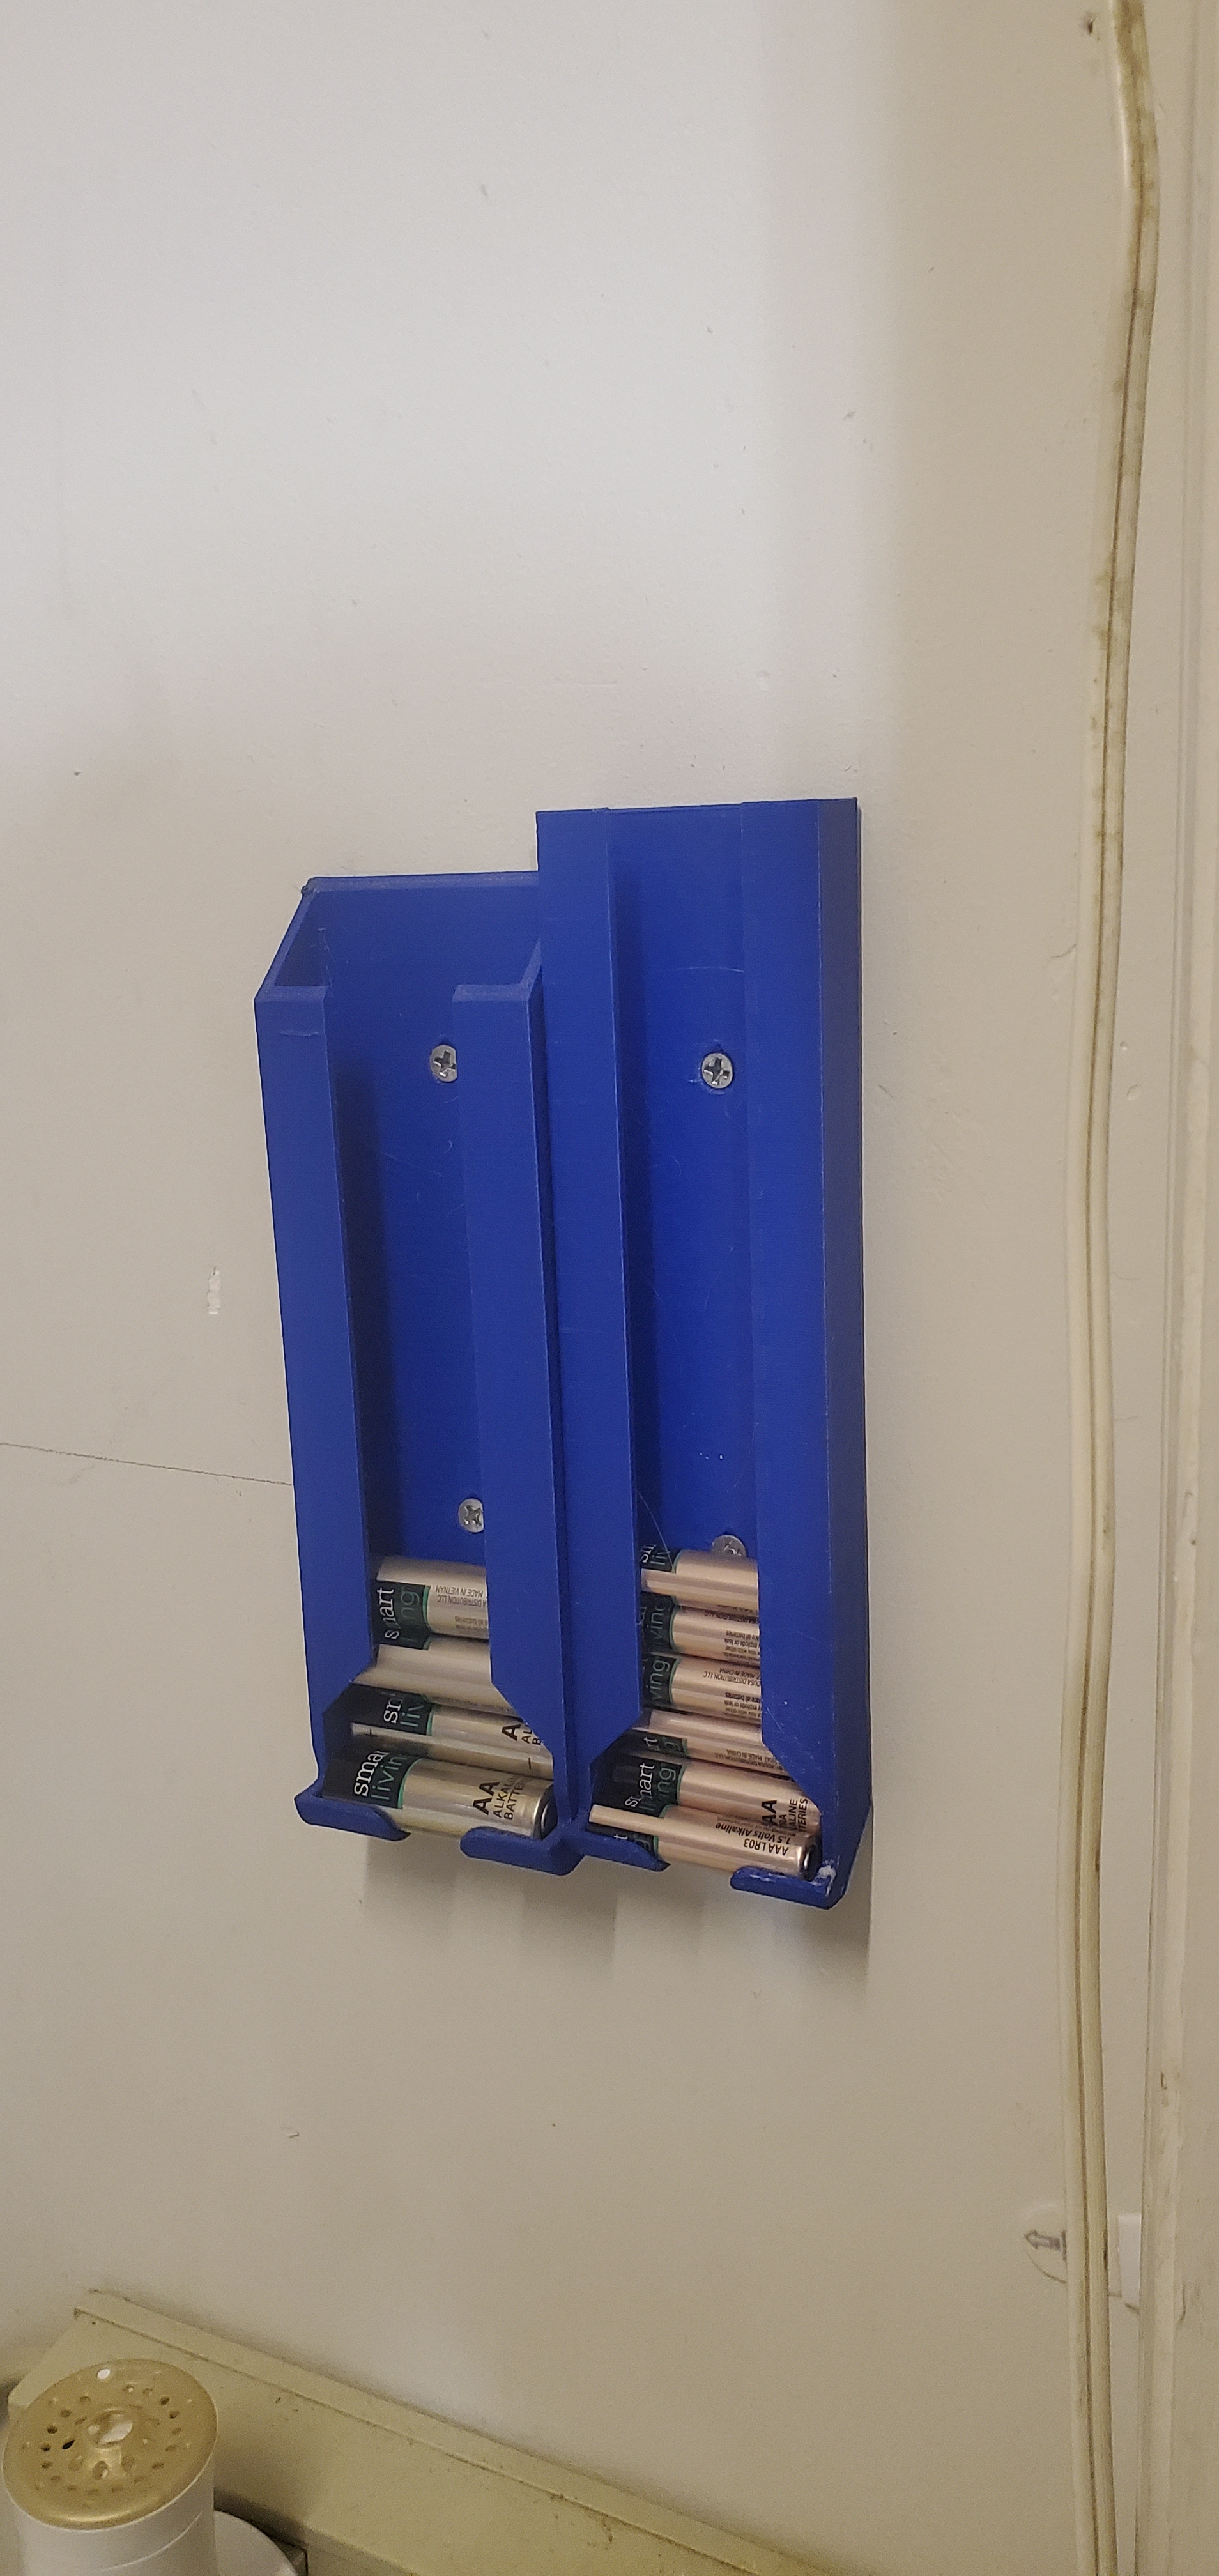
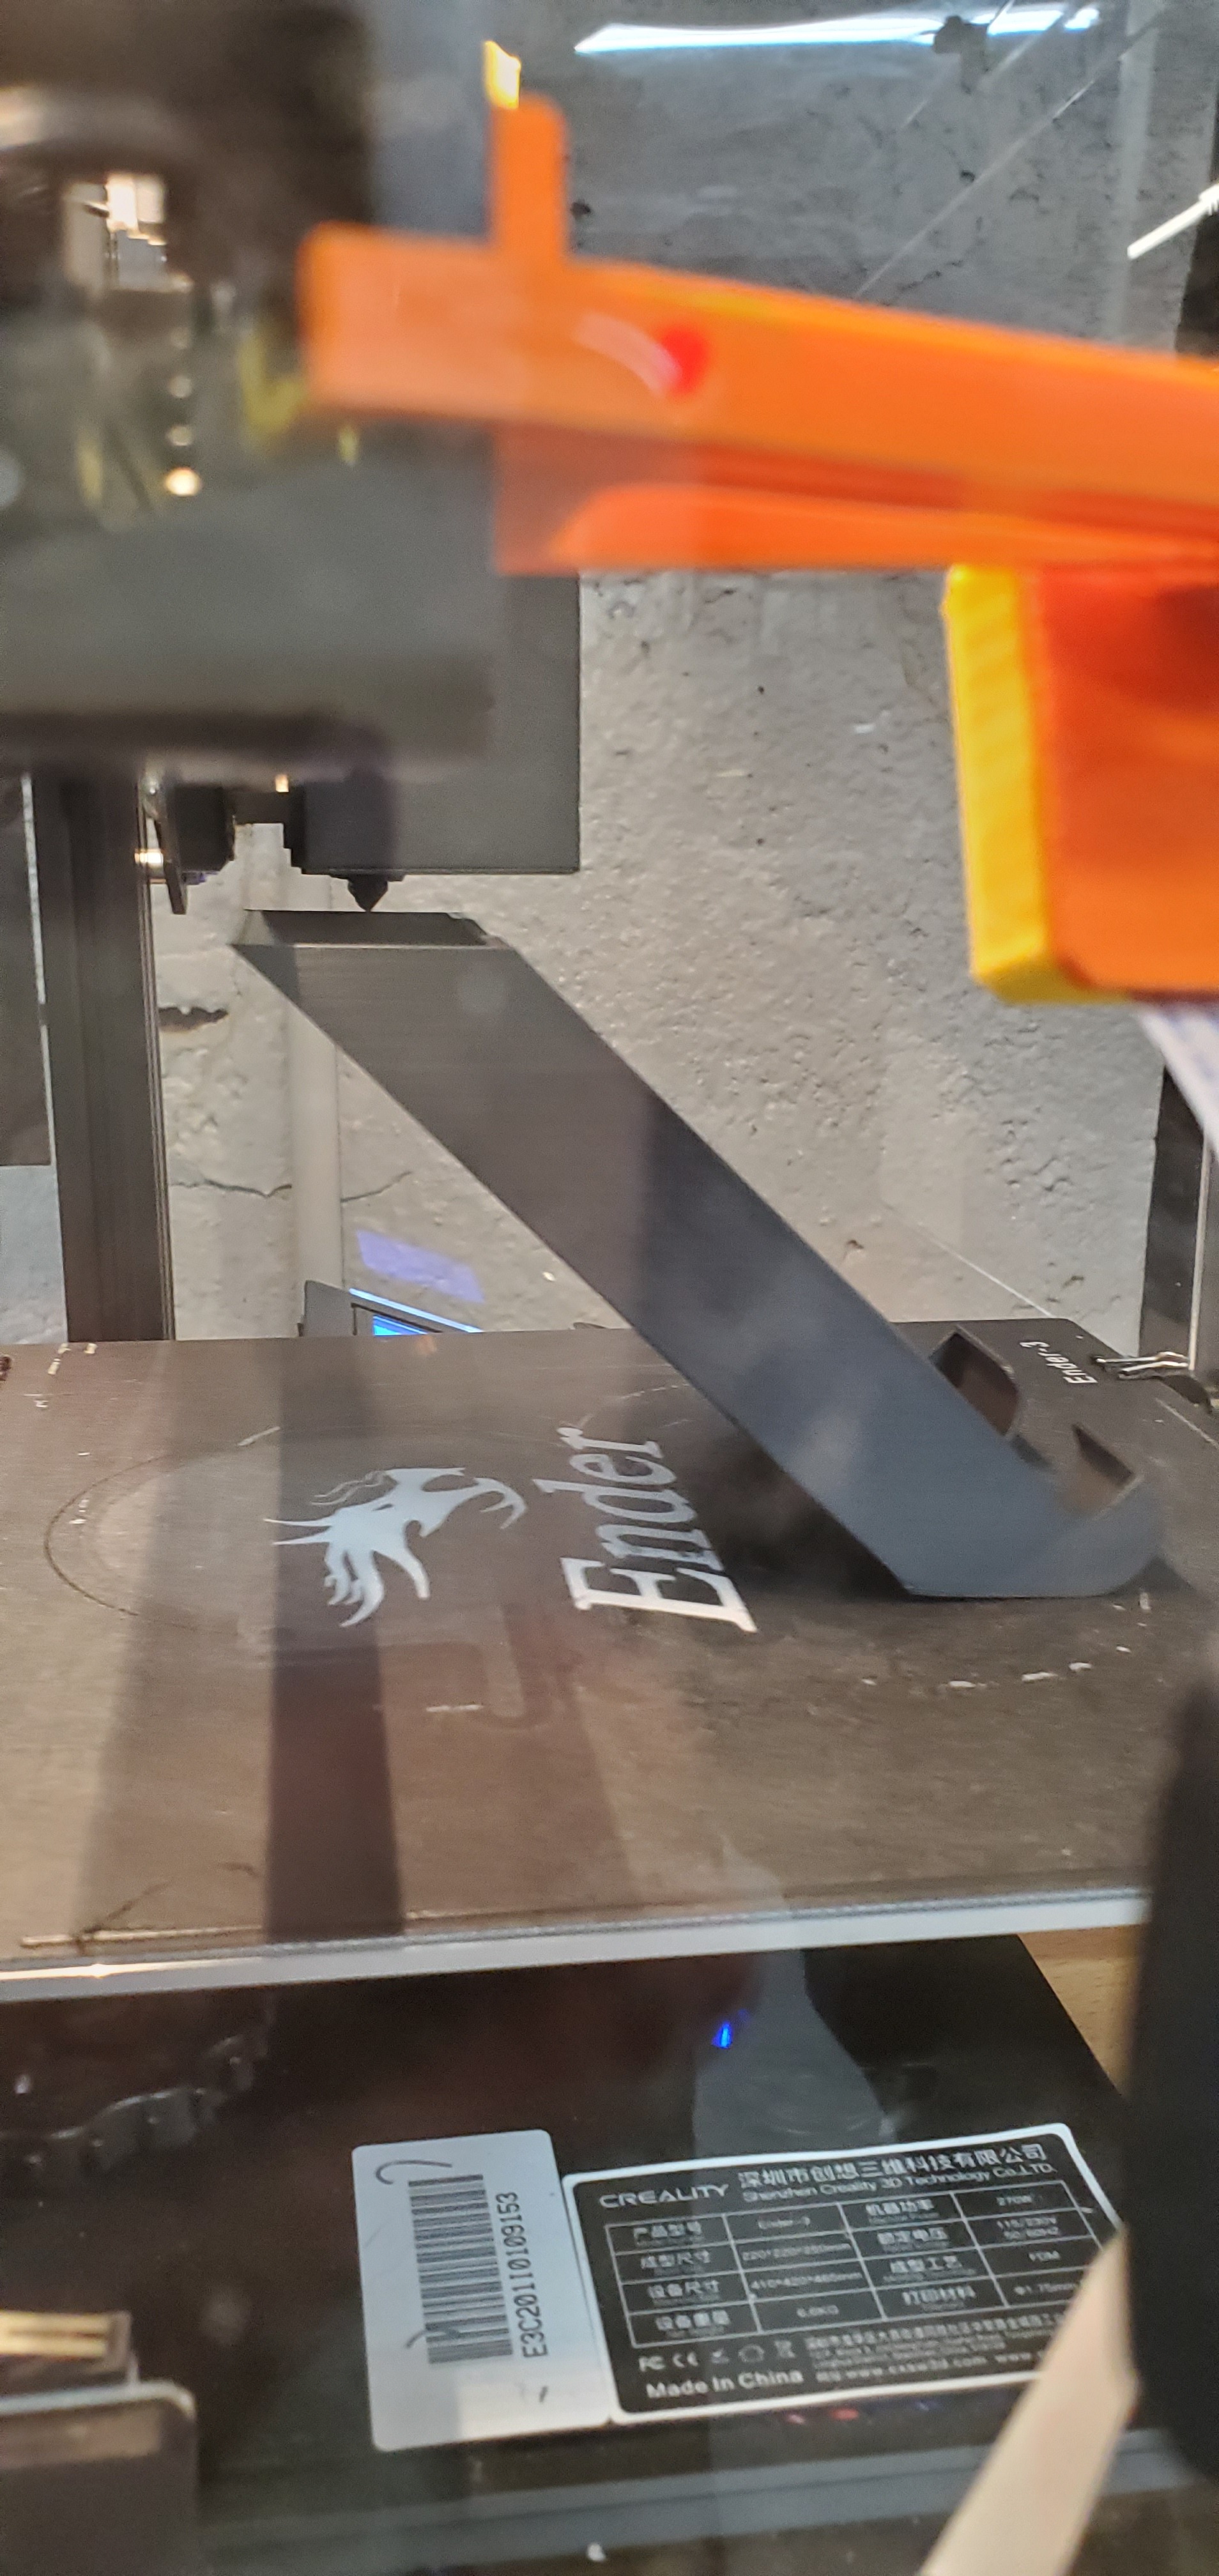
The real wild feature about them is how they printed. I used absolutely no support material. I don’t have any pictures of these printing, but I do have a shot of a glue stick holder of a similar design. Get a load of this:
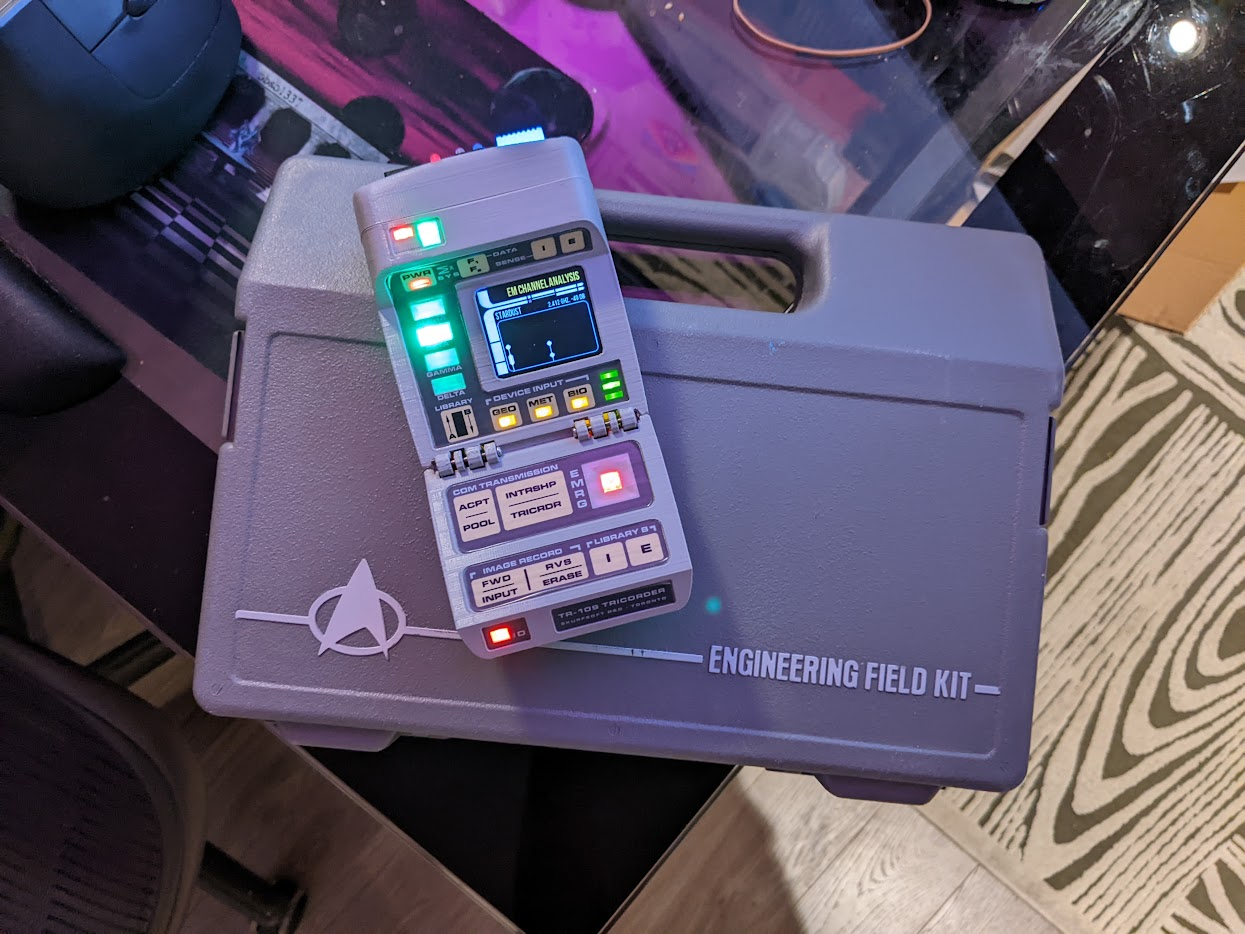
A lot of great Trek prints in here, I couldn’t help but share my neverending quest to develop a working TNG tricorder (has sensors, lights and sounds). Im still working on this project but this photo is of the most recent iteration.
That’s an impressive project!
That’s so cool! Not familiar with the star Trek lore but upon a quick Google search your version is a great match. Keep it up!
That looks fantastic :)
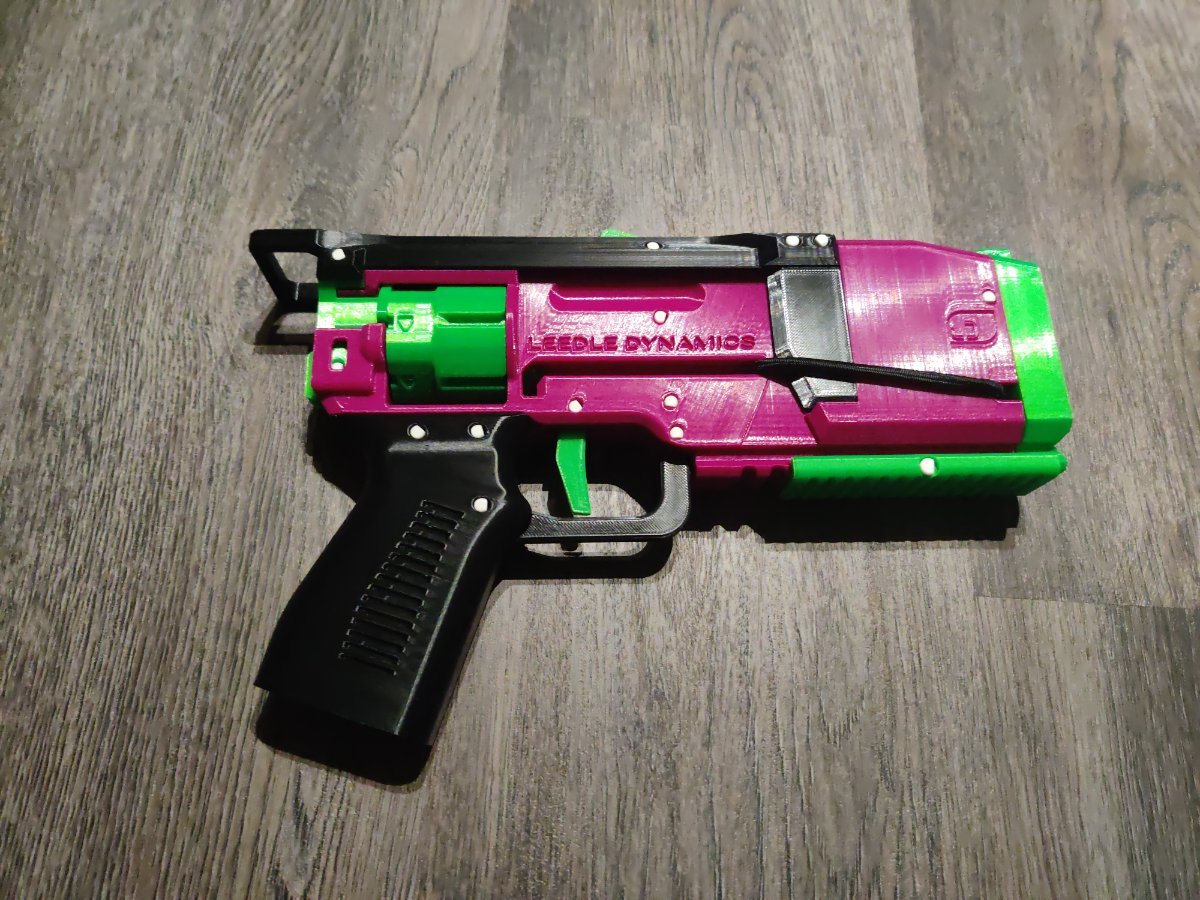
3D printing has given me the ability to engage in my decades long foam blaster hobby in a completely new way. So glad to see how accessible it is now.
Our fridge door doesn’t close, so I decided to design a clip to keep it shut and 3d print it. Never used any cad before, nor a 3d printer. I bought an A1 mini, downloaded Fusion360 and followed some videos. Here was the result. (ps this is version 3, since V1 and V2 were successful prints, but unsuccessful at doing their job of keeping the door closed)
(For some reason adding the image doesn;t work? I’m new to Lemmy, I’ll try to find out what’s wrong and I’ll be back to add the images)
Some instances restrict image uploads because of people uploading… Unsavoury images.
You should be able to link to an external image site.
Right, thanks. (that’d be a useful massage or popup to receive though if that’s the reason for not going through) I’m not on flicker or things like that so generally bank on posting the images directly (only recently coming over from reddit to lemmy)
Drop a question in your instances meta community
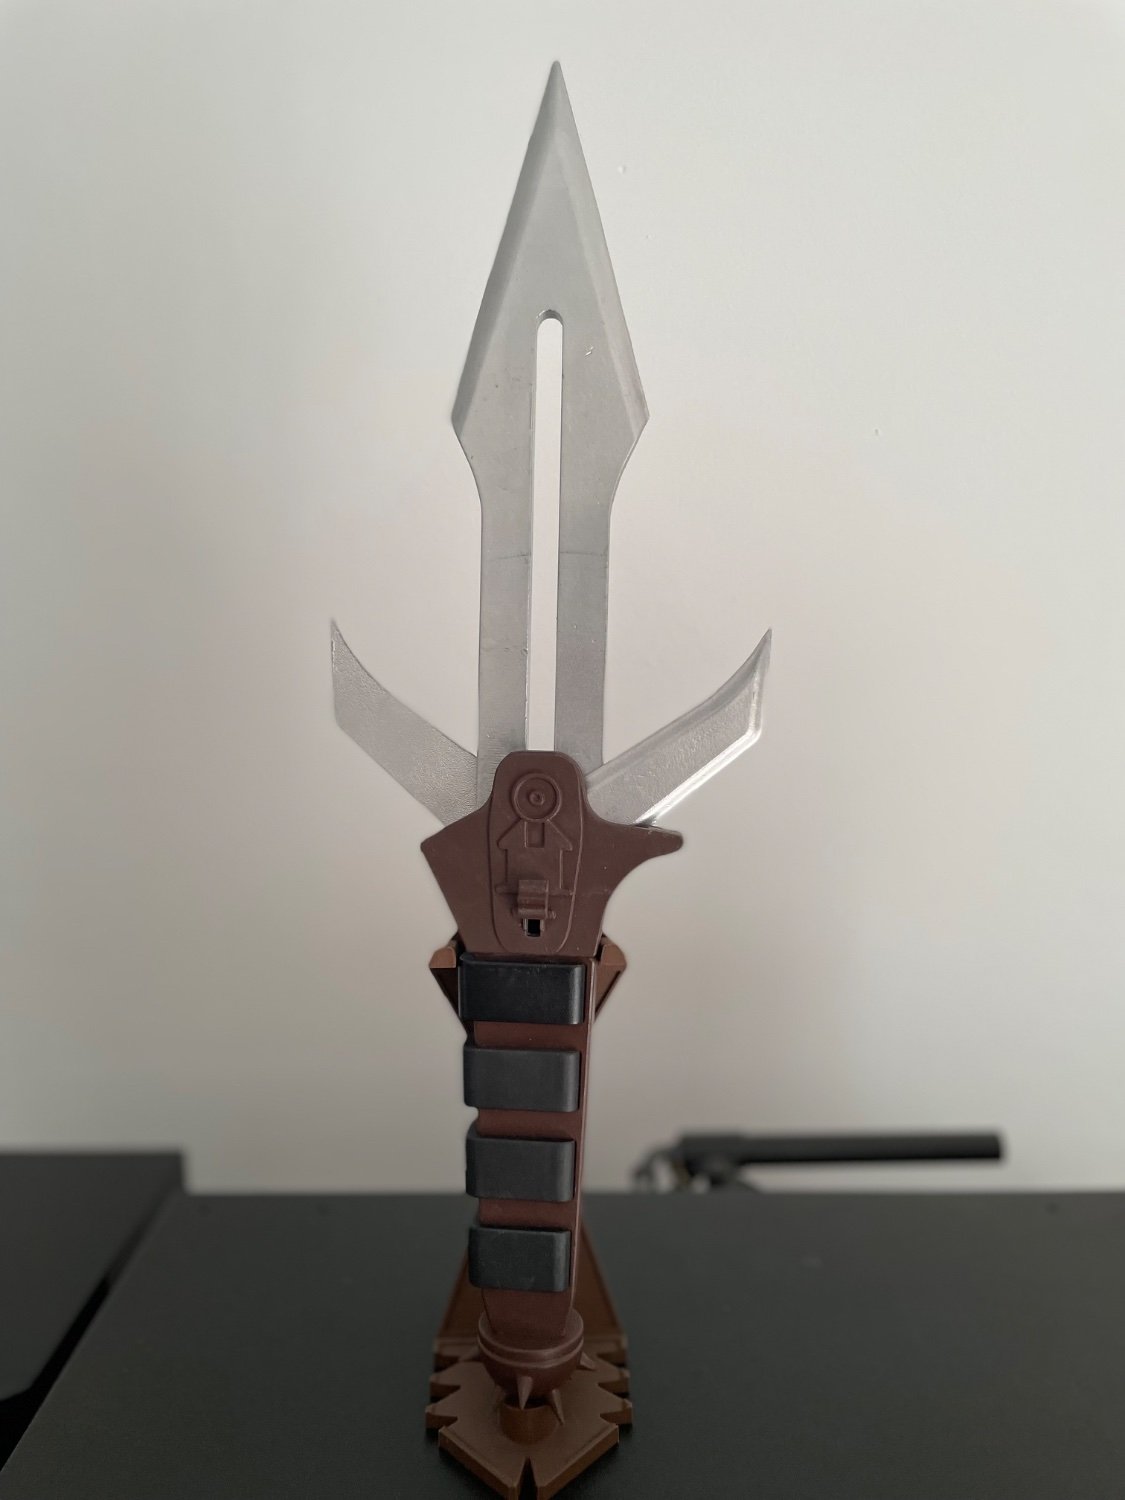
A Klingon D’k Tagh, I couldn’t finish it properly and the paint job could be better, but I like the result.
Source model: https://www.printables.com/model/286959-klingon-dk-tahg-knife-star-trek
If this was used as a prop onstage for a live production nobody would have an issue with it. In my time in theatre I saw props that looked a lot more simple/thrown together than that!
To be fair it actually is impressive though. Keep it up!
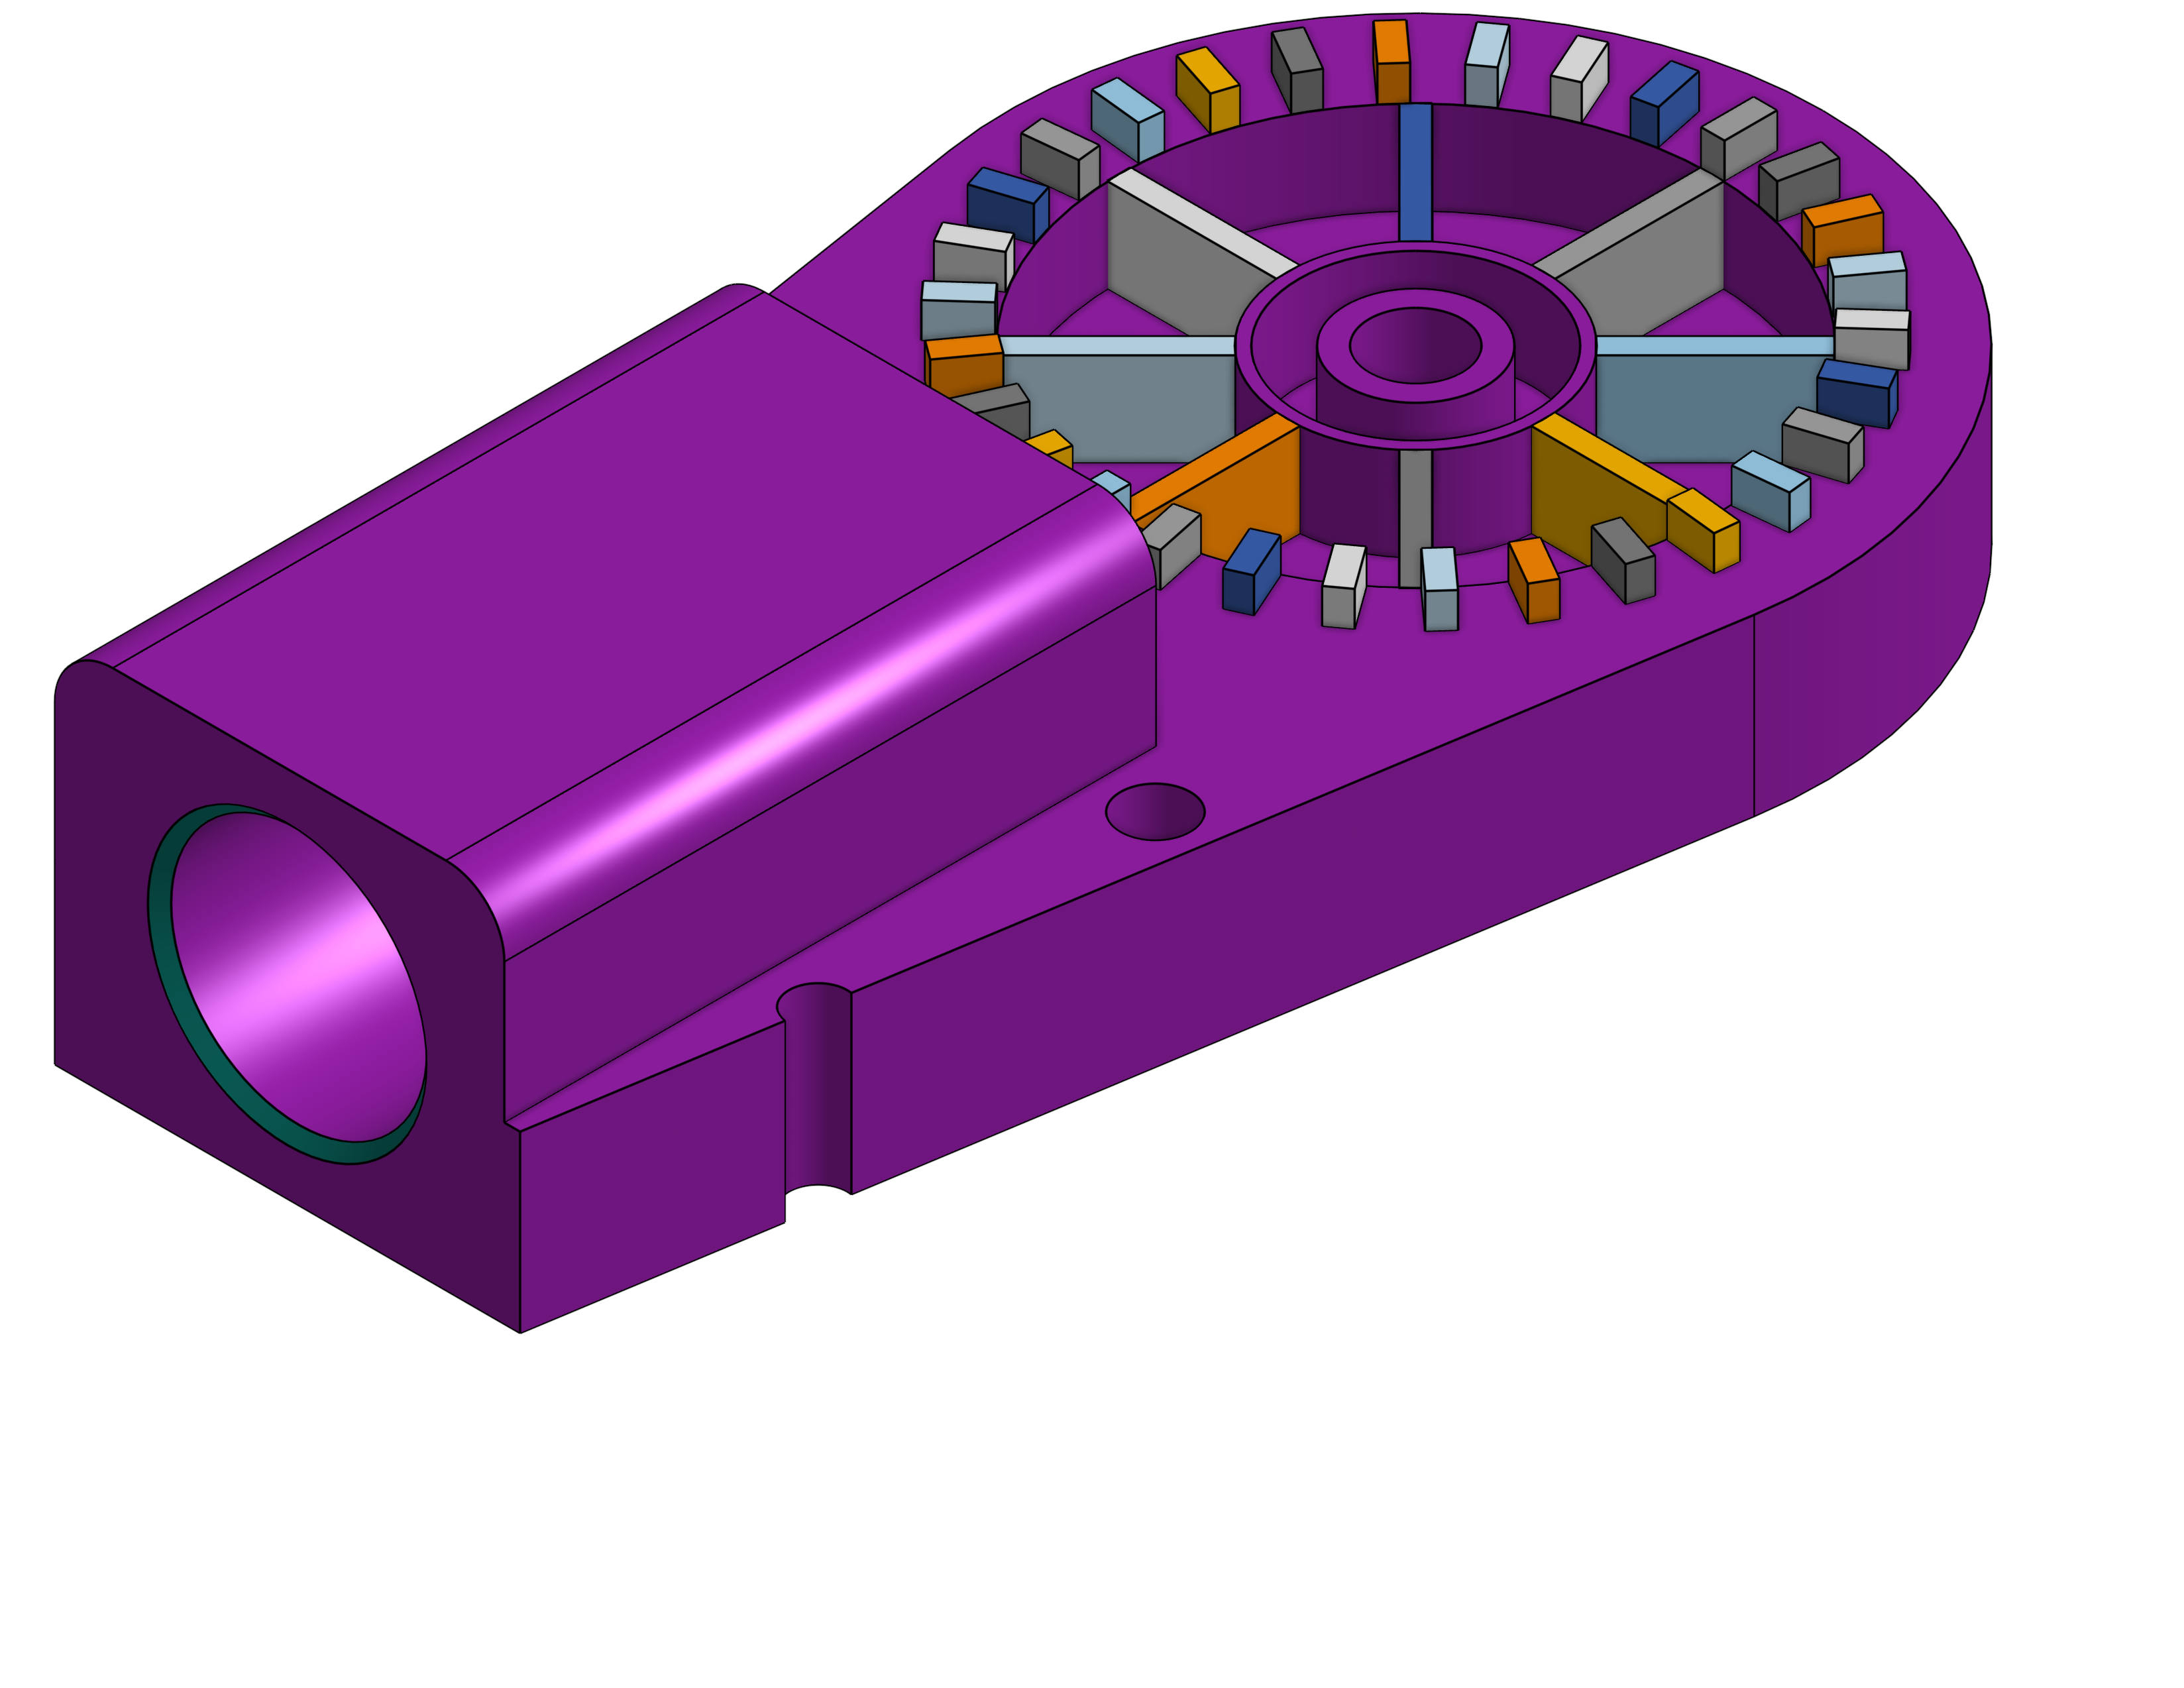
It’s a part for a corded snow thrower I use on my deck. It allows the the handle to be quickly and easily folded for compact storage. I would post a picture of it, but it’s currently 4F/-16C outside and I’m not walking to the shop. Besides, I would need to disassemble the handle to show the parts. So, Y’all will need to settle for a picture of the model.
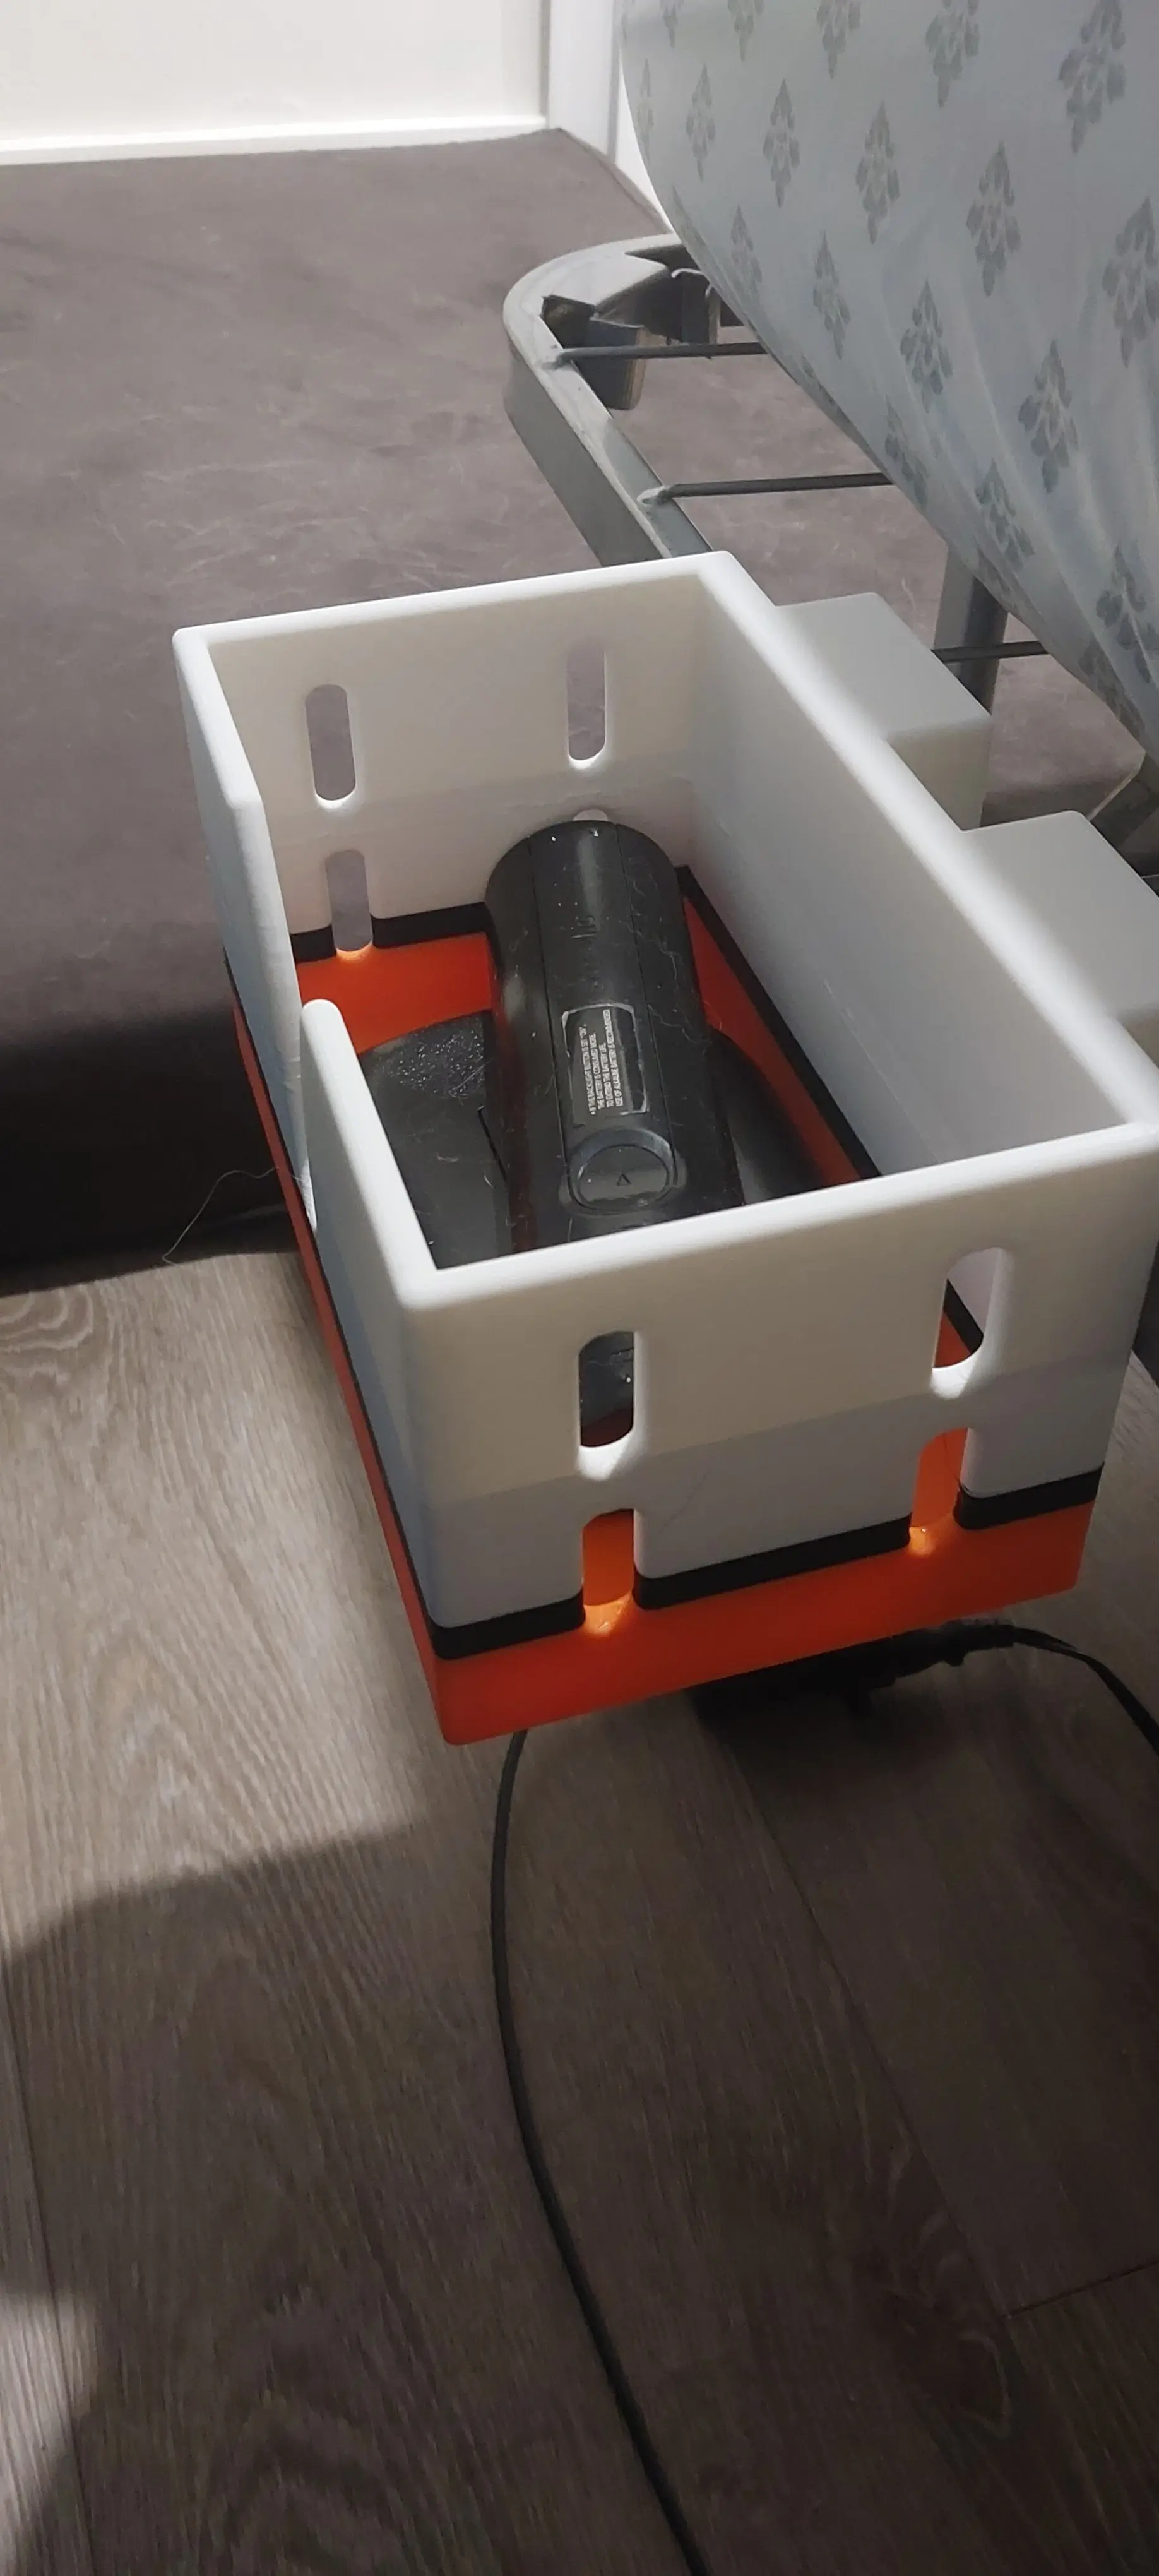
I just finished printing this basket for my bed since there’s no room for night stands. It’s made using the last spare bits of filament I had lying around but who cares since you normally can’t see it from most angles anyway.
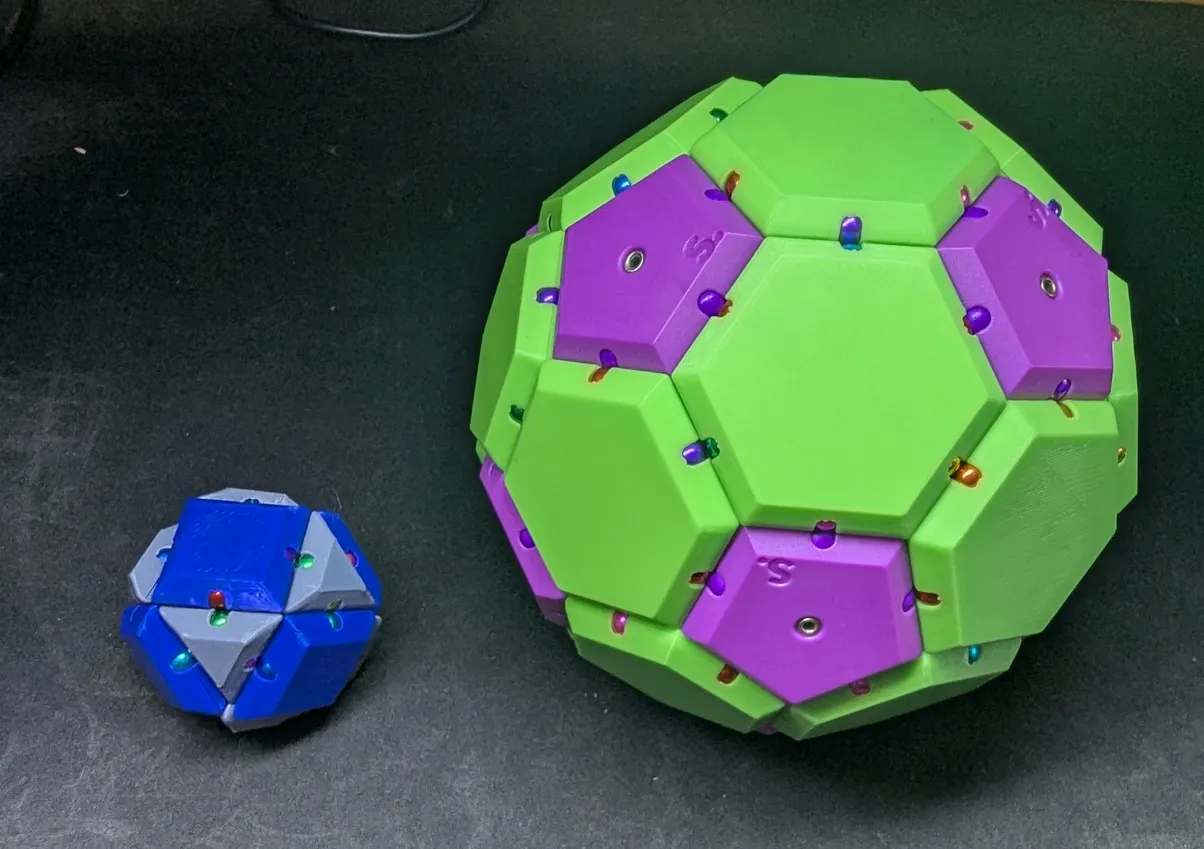
This is one I’m particularly proud of. Makes for a really fun magnetic fidget.
https://www.printables.com/model/1145644-geometric-shapes-with-embedded-magnets-for-constru
That’s so cool looking! What did you print that on? Must be a pretty capable printer!
Prusa Mk4s, but probably any modern printer could do it. It just has to be high enough quality so the small magnet balls can rotate so they can self-align and click together.
I’m terrible about taking photos of things, it just doesn’t occur to me until I need one.
This is the view from one of my printer webcams of a 2 day print that just finished about 20 minutes ago; its covered in supports because the walls are modeled like stone. A friend of mine of running Vecna: Eve of Ruin and asked me to print him a Death House (in about 16 parts - 11 beds full). In total this is going to be about 20 days of printing because I’m doing it at 0.1mm layer height - I’m not quite halfway through. This is the model and here is a reddit thread showing it painted.
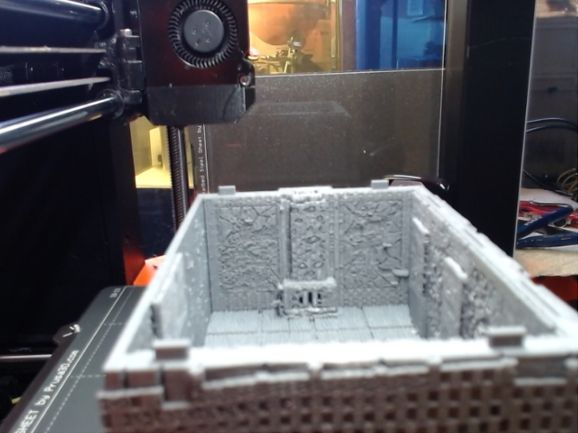
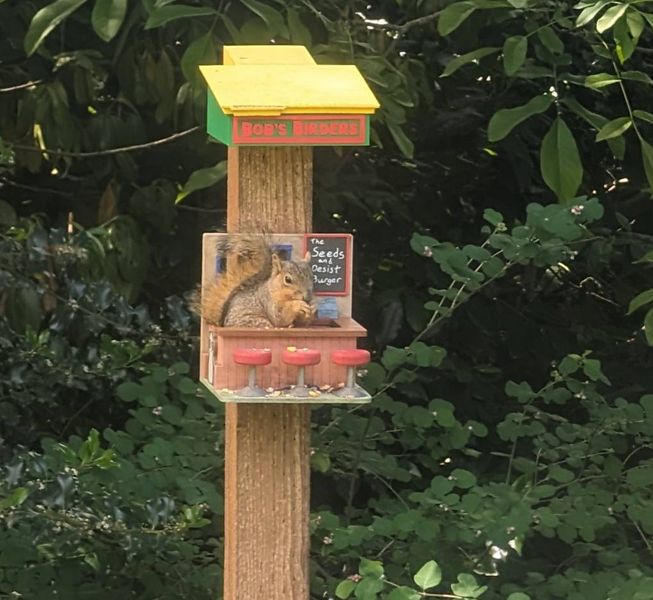
Since that one is not much to look at, here’s a pic with a squirrel, from a recent blog post about how my 3D printed Bird/Squirrel feeder has withstood 15 months of weather and abuse.
Wow really cool idea for the d&d design! When I used to do this stuff I was using the Printrbot LC and it was literally impossible to do something this advanced. Since it was all made of wood I think it just constantly would shift with all the heated elements, and end up a hair off. It was great experience but I didn’t get to anything really advanced with it.
Also love the bird feeder. This is what I love about 3D printing!
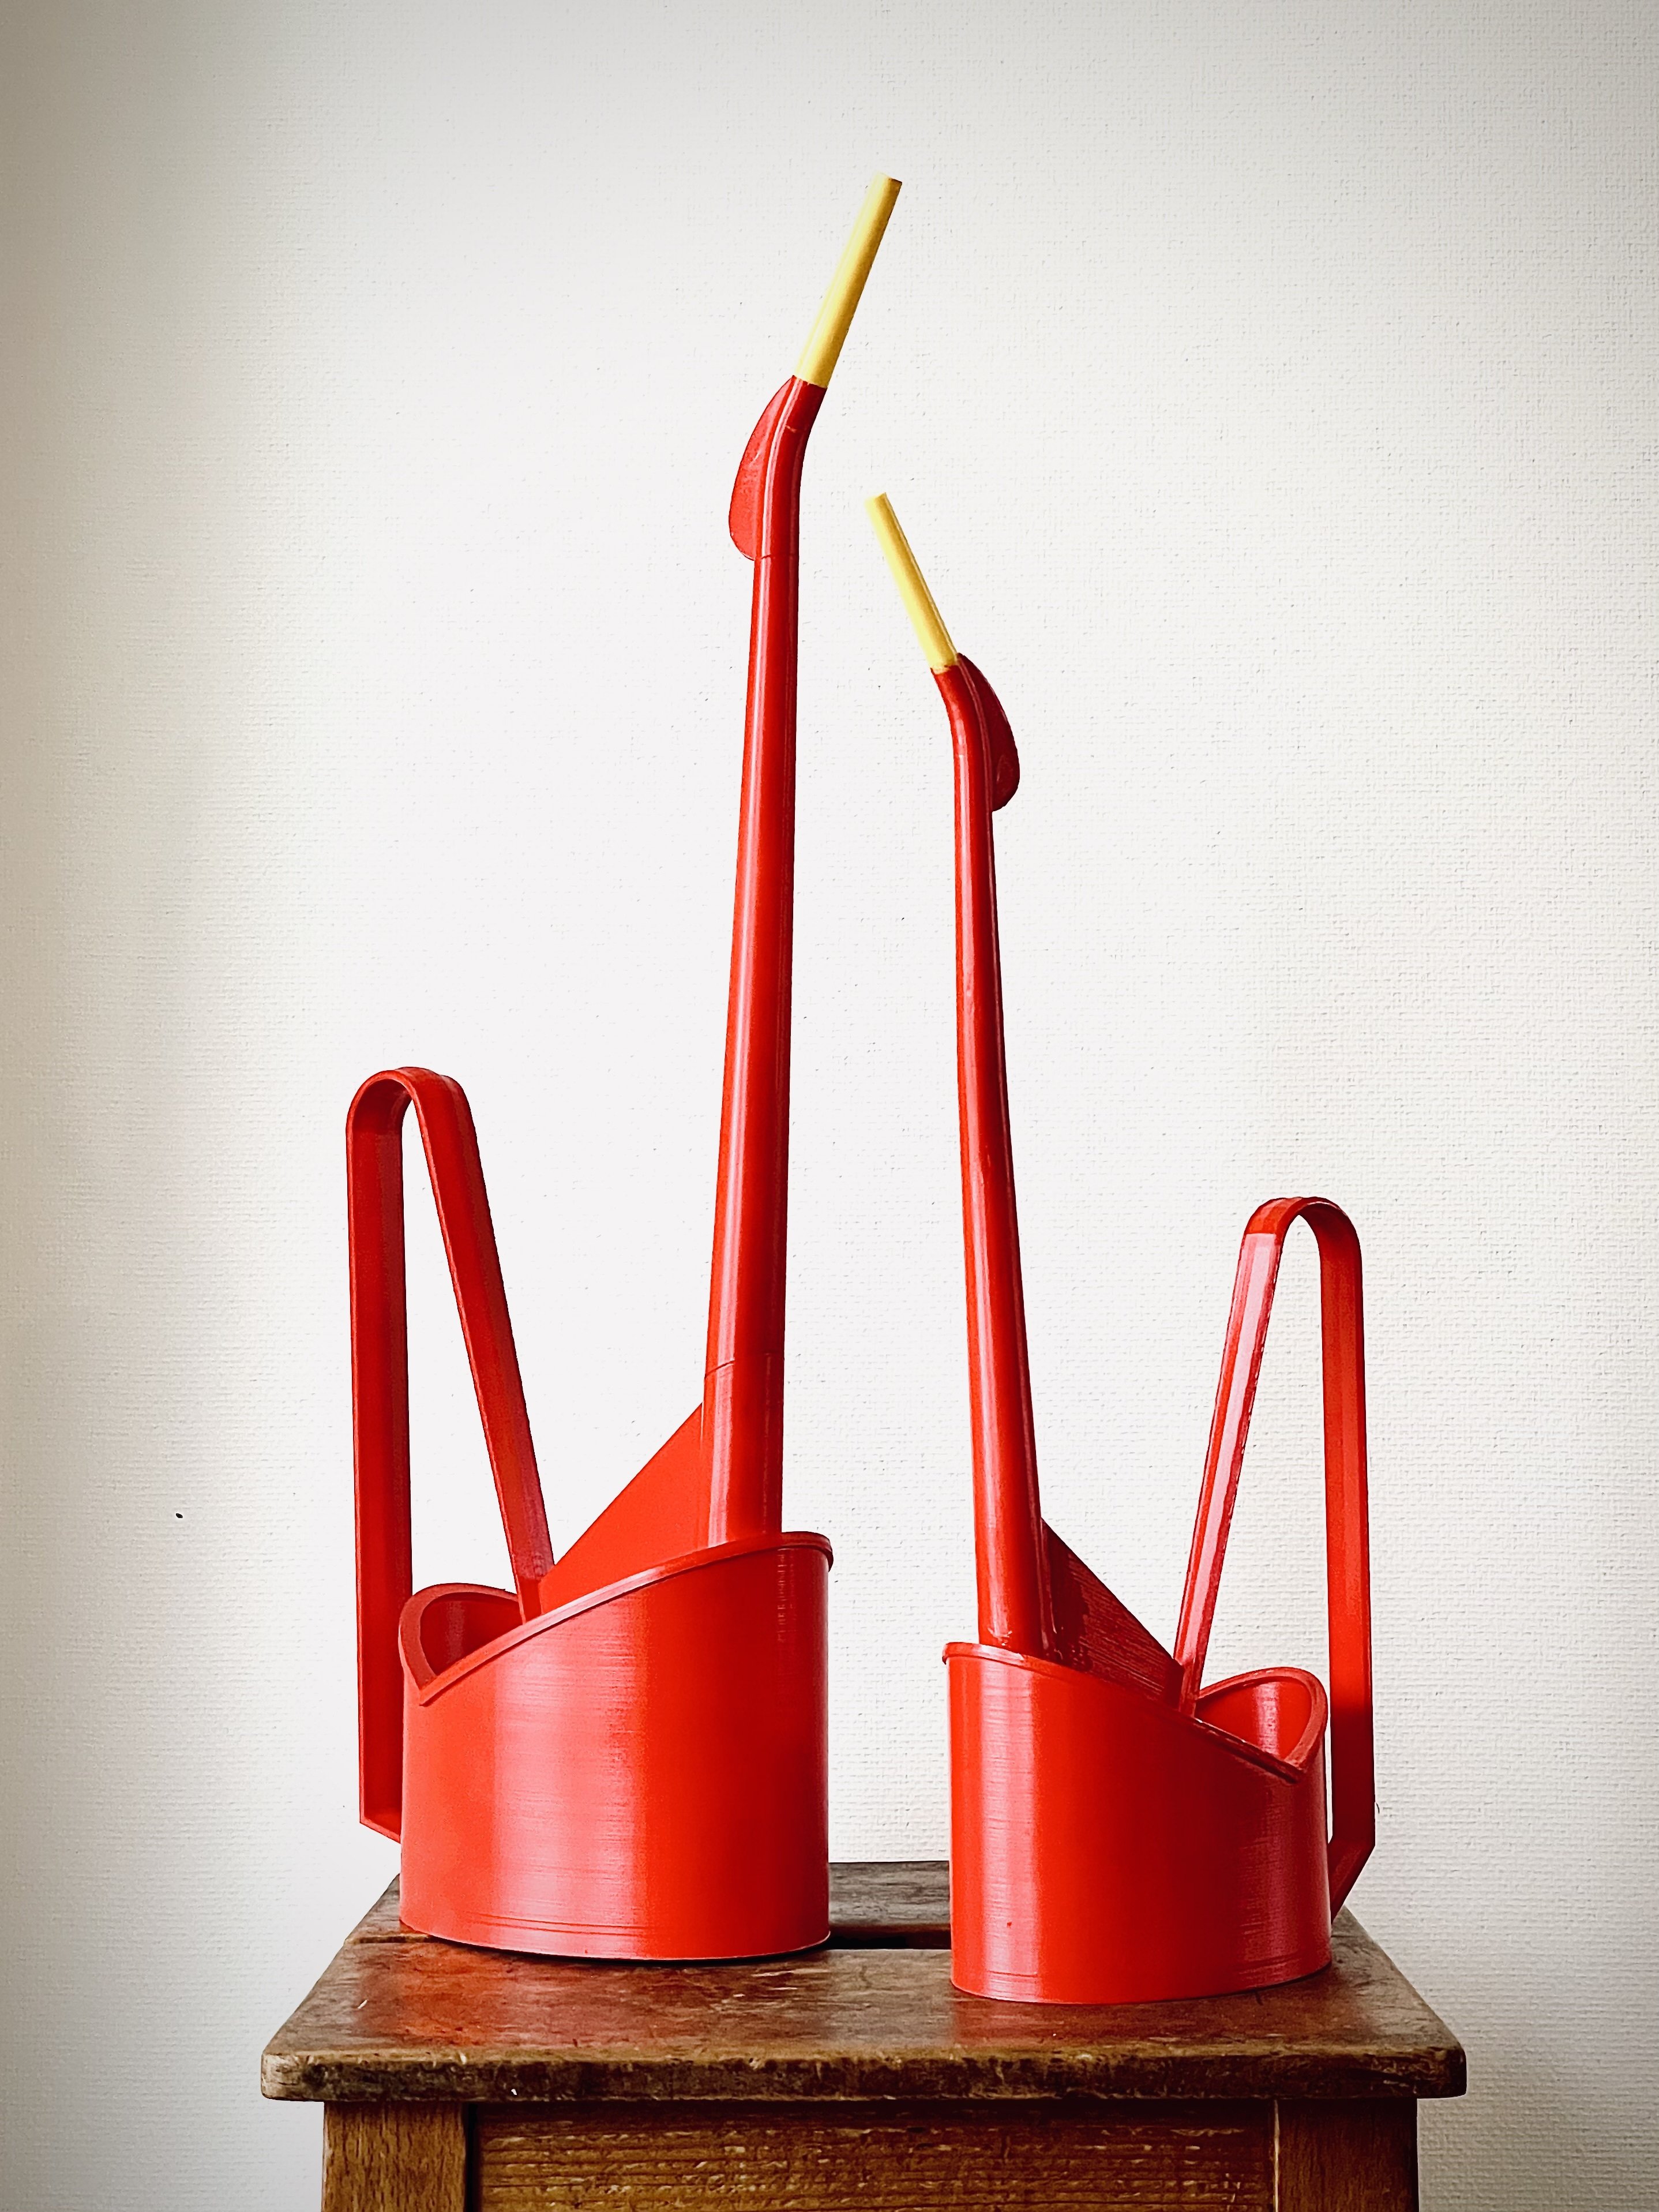
found a 90 year old design for a cactus watering can from a local designer and had to print it for myself… tried out multiple sizes and colours
This is so cool
Can you share the STL? I would be interested in this.
Do you have any problems with water leaking? People always warn about prints not being water tight, but I don’t know if that’s old advice or not.
as soon as i fix a few small problems i’ll share it here :D
the two red ones are painted with red car paint and a clearcoat, they are totally water tight, a black and a pink one are only coated with clearcoat, they don’t leak as well, but i tested them before coating and both dripped a bit at the joints… i’m correcting some parts now and will use more glue… i think that’ll fix it but i’d still recommend to use" ironing" in your slicer and clearcoating it after assembly… i didn’t let the water in the can for multiple hours, so i’m not sure yet whether water will penetrate through the plastic…
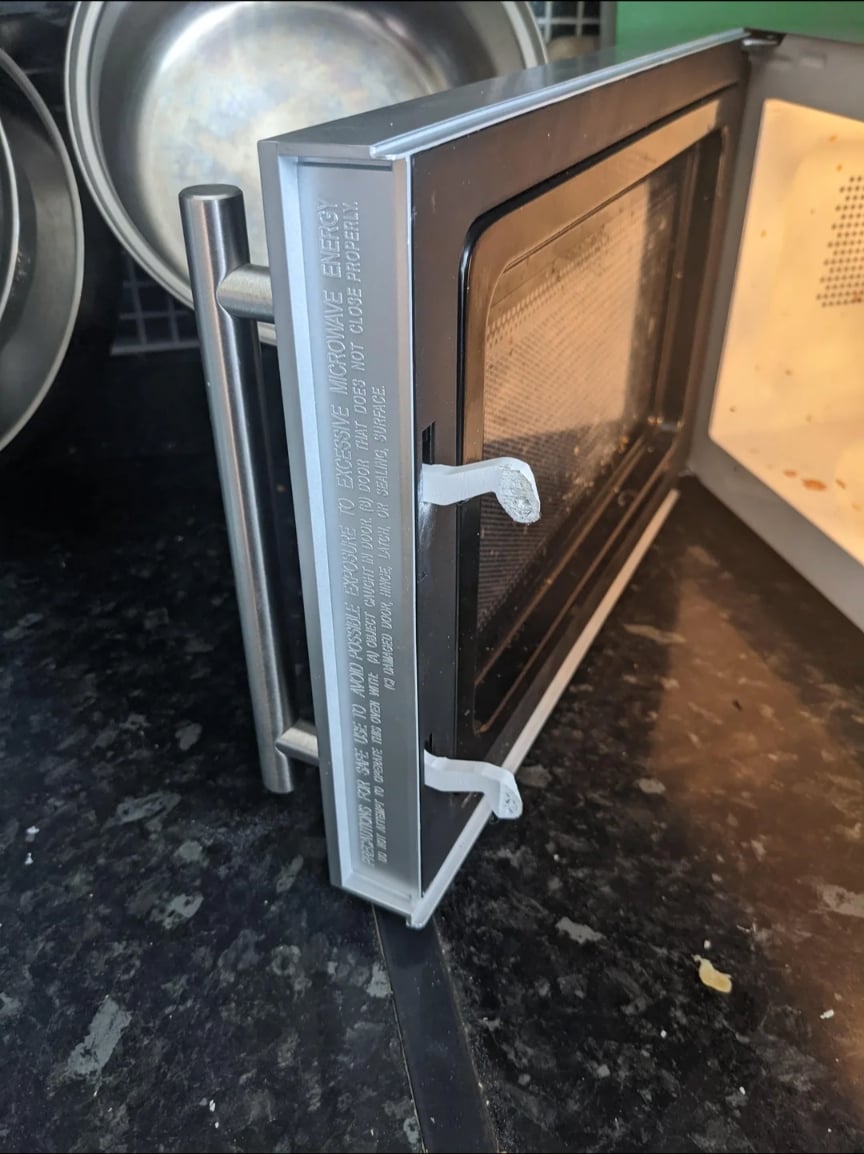
I mostly use mine for functional stuff, odd shaped brackets, pipe adaptors, electronics enclosures, so not very photogenic, but my two favourite things were a replacement door latch for the microwave, saved the cost of buying a new one, and a very nerdy bit of wall art 🖖
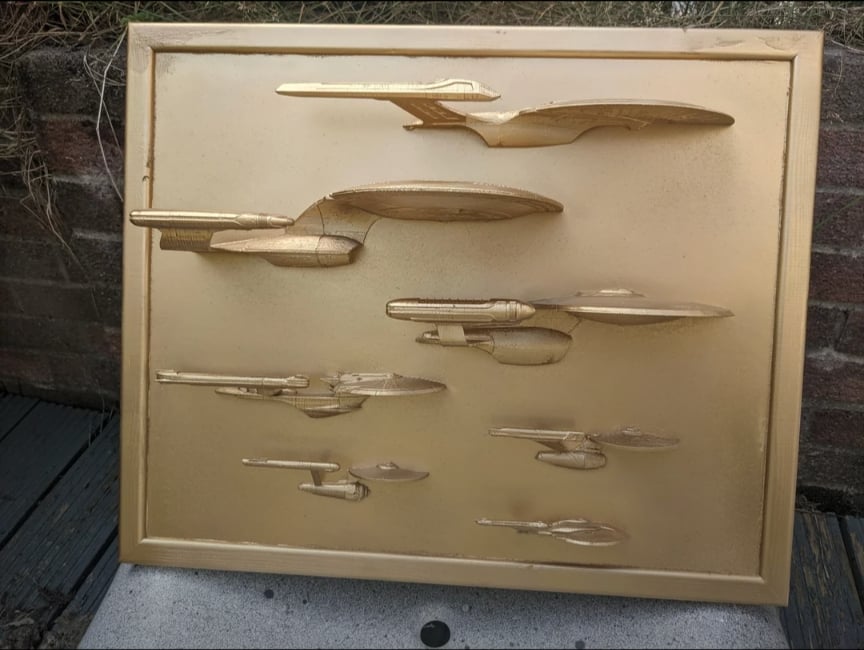
I’m guessing a version with the Enterprise J doesn’t fit on the print bed.
The wall art is gorgeous! How did you get that smooth final metallic look? Or is that just how it looks on picture?
Honestly that’s one of the coolest things about 3D printing - being able to create highly specific parts that could be impossible or impractical to source.
I’ve heard that 3D printers are used to repair those terrifying “iron lungs” that some people are still depending on to survive. This is because some of the parts that break on them are literally not produced anymore!
It’s not really smooth up close haha just standard sorta 0.2mm layer height, sanded down a little, then I spray painted them gold which hid some of the rough spots
And yeah I’m a big believer in repairable tech, 3d printers are huge in terms of being able to replace the kind of custom shaped plastic parts that the manufacturer doesn’t sell spares of and the appliance is completely unusable without (as I’m sure is the intention 🙄 planned obsolescence is truly one of the worst things we’ve ever come up with)
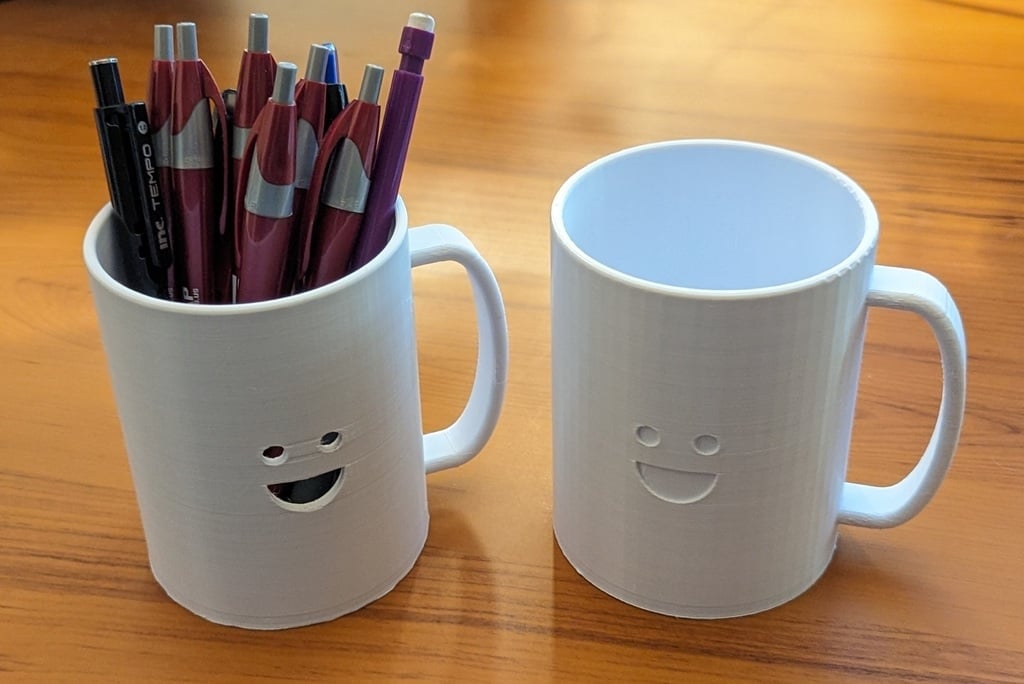
My first (and still my favorite) thing I designed from scratch is my Happy Mug.
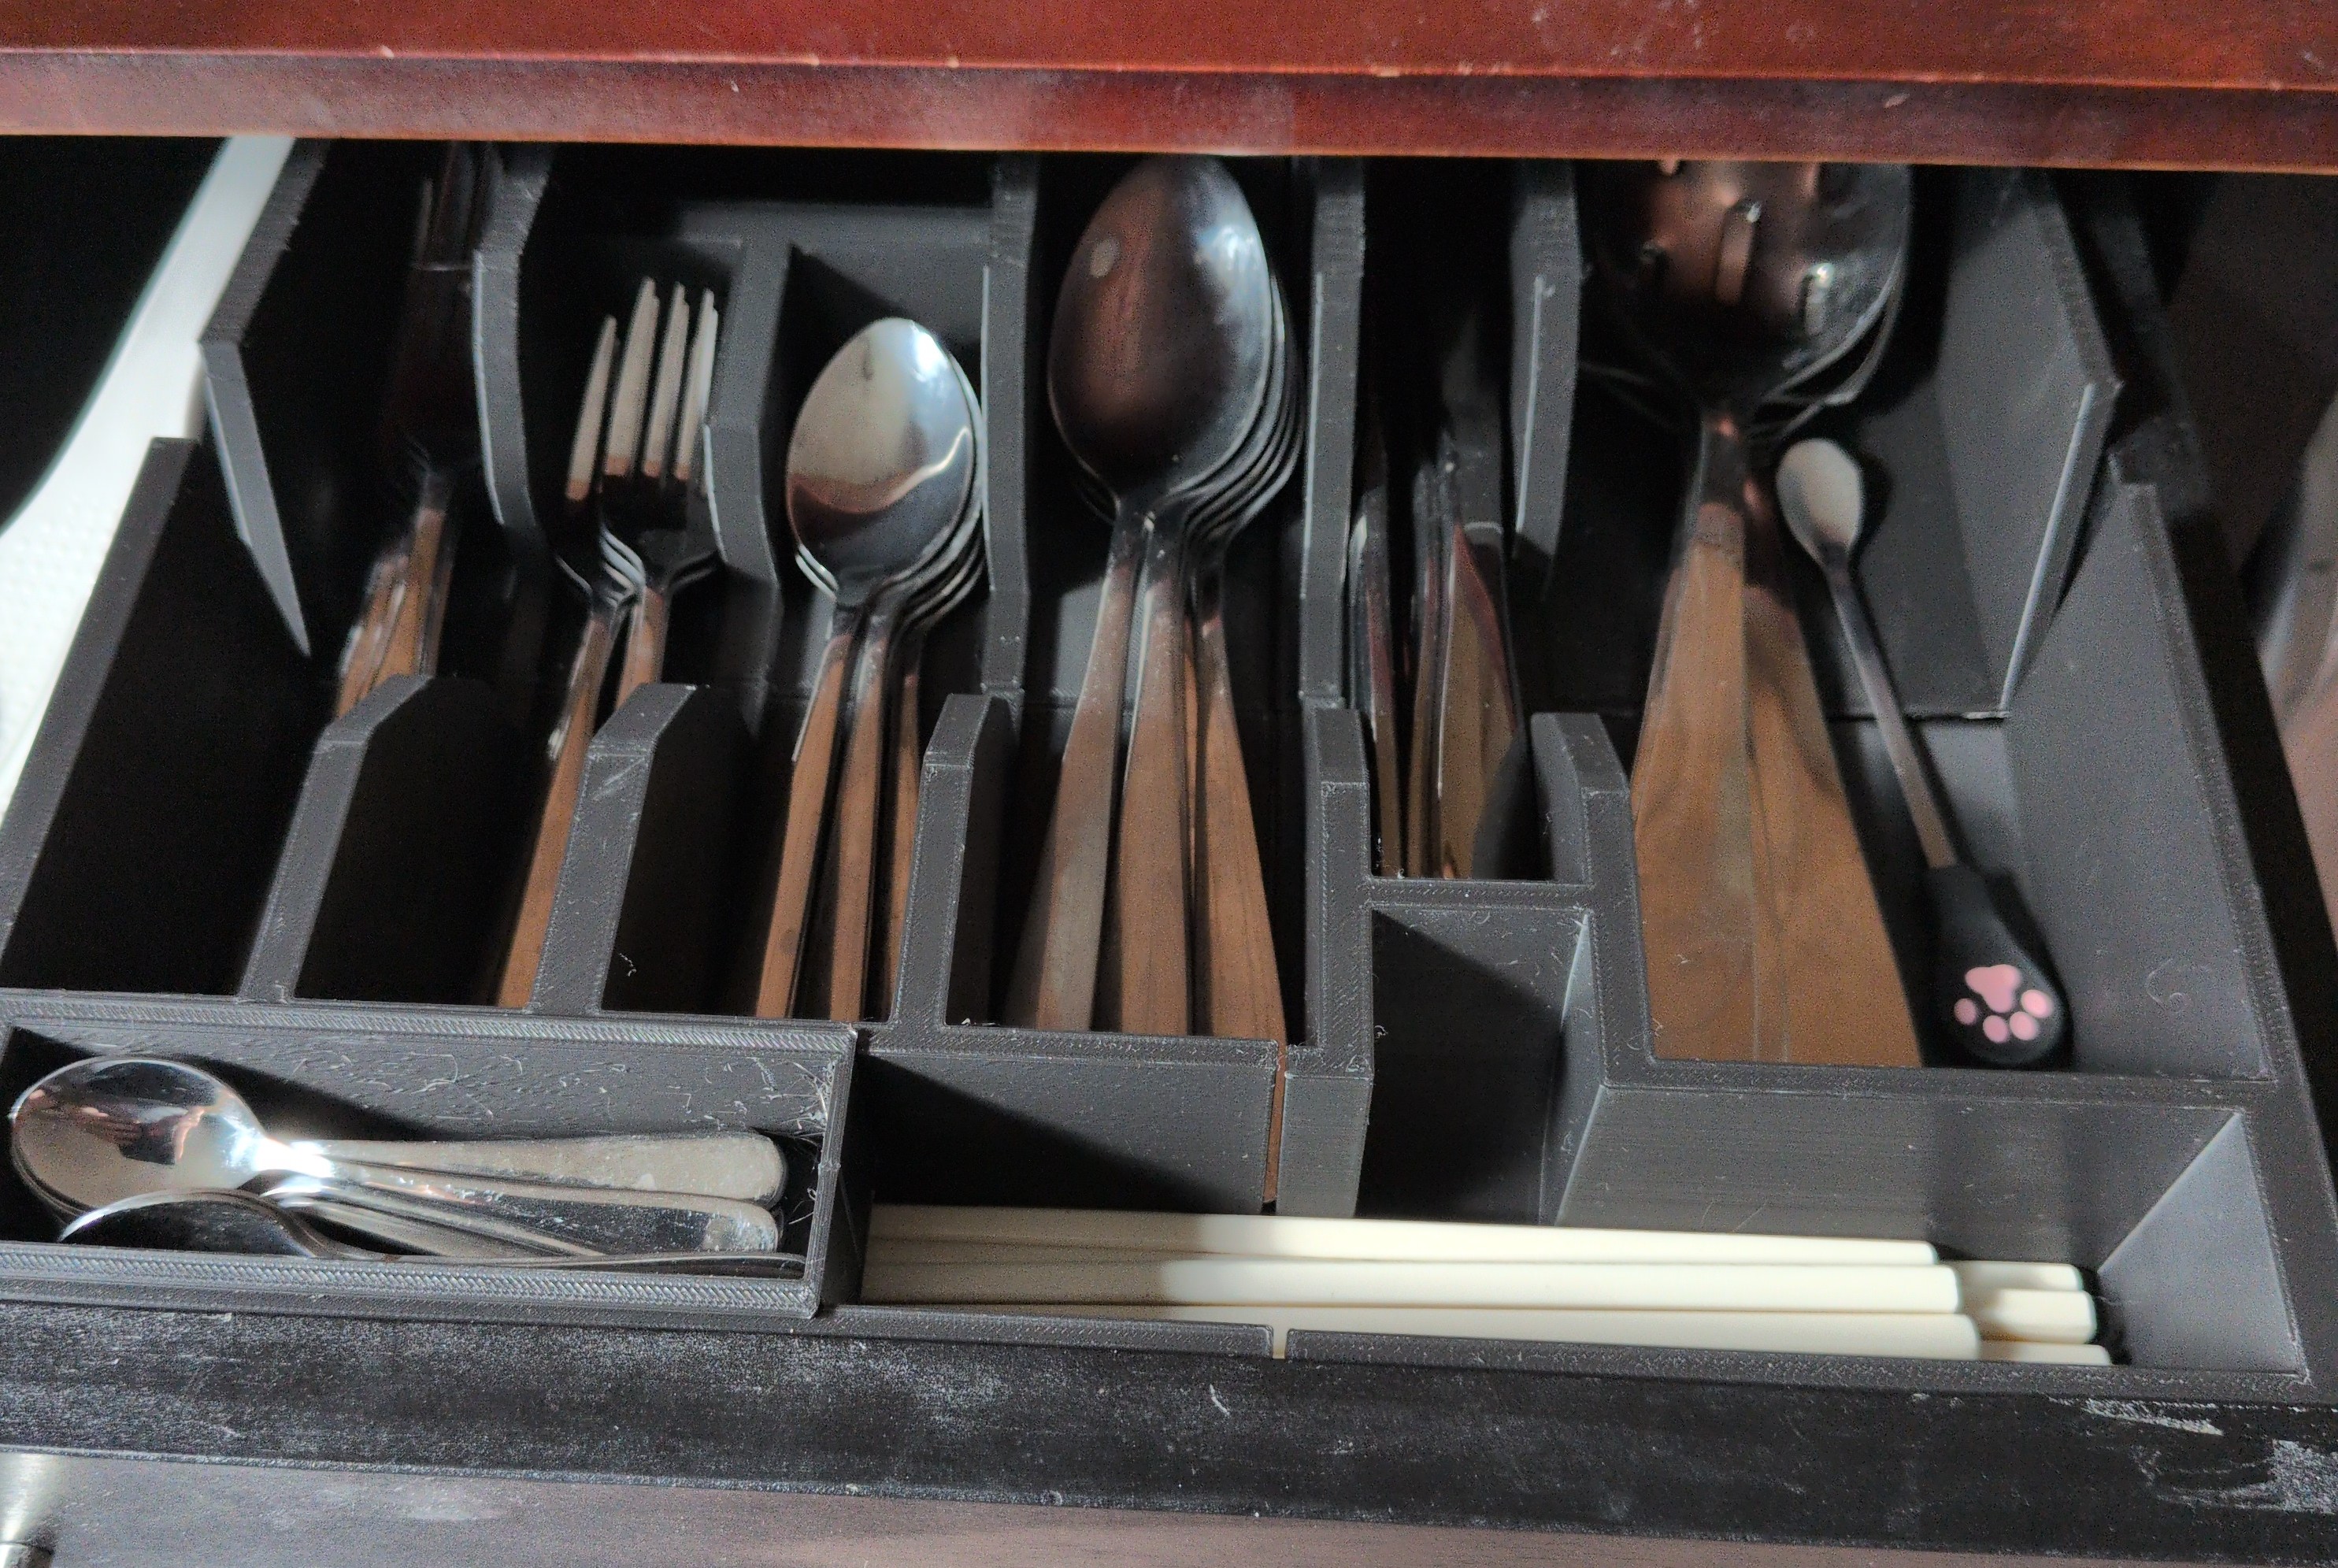
First functional print in a little while, got tired of fiddling with silverware drawer trays that didn’t quite fit so I modeled one to fit the drawer and my utensils perfectly.
Nice! That’s on my print backlog as well :-)